JC's Electric Caddis
Nymphs: Step-by-step fly tying instructions.
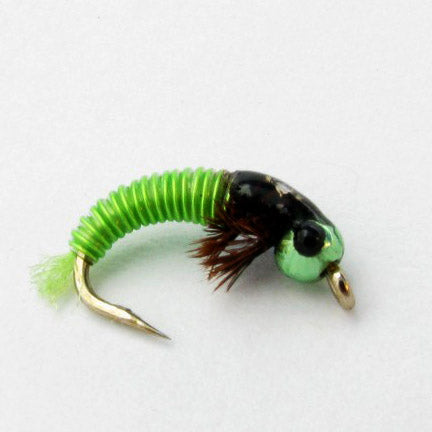
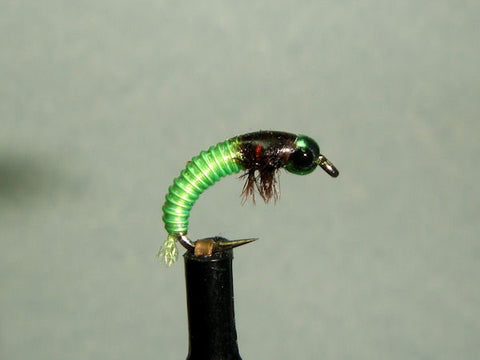
JC's Electric Caddis created by John Collins.
I created this pattern to imitate “free living” caddis larvae found in many rivers. After photographing numerous natural insects, I observed their bodies had a very translucent nature to them, so to imitate them I incorporate Ultra Wire inside of hollow Stretch Tubing and use this as the material to create realistic bodies that very closely resemble most “net spinning” and “free living” caddis larvae. This pattern can be tied in a number of colors and sizes to imitate various species. For example this fly is chartreuse and brown. The name comes from the abdomen created from my form of “Insulated Wire”, hence the name “Electric Caddis."
Fly tying materials
Hook: Daiichi 1130 “Scud Hook”
Thread: Chartreuse 8/0
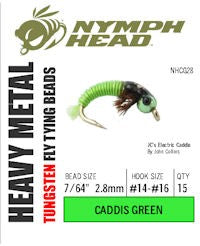
Head: Caddis Green, Nymph-Head Heavy Metal™ tungsten bead
Abdomen: Chartreuse Ultra Wire inserted into Clear Stretch Tubing wrapped over a base of tying thread
Thorax: Brown Ostrich Herl (Burned on top and coated with Instant Epoxy)
Claspers: Chartreuse Antron Yarn
Fly tying instructions
Step 1

Start by inserting Chartreuse Ultra Wire inside a length of Hollow Stretch Tubing (for hook sizes # 12 thru #16 use size Small wire and Micro Stretch Tubing, for hook sizes #8 and #10, use size Brassie wire and Small Micro Stretch Tubing).
Step 2

Cover the hook from the bead to about halfway down the hook shank.
Step 3
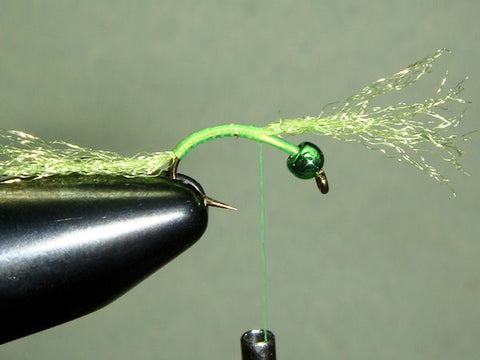
Attach Antron yarn and continue wrapping thread all the way back around bend of hook and return thread to about three quarters of the way back towards bead.
Step 4

Fold the remaining Antron yarn back over the hook and cover with tying thread to about half way down the hook shank, then cut yarn. Continue wrapping thread back to the farthest point and return to where you folded the yarn. Make sure you cover the shank and Antron completely.
Step 5

Attach the wire/tubing combo on top of the shank and cover completely with tying thread, returning to the point that you started tying in the wire/tubing combo and tie off thread.
Step 6

Wrap wire/tubing combo forward until you reach where the thread is tied off and secure.
Step 7

Attach ostrich herl and wrap forward right up to the bead. Cut off the remaining herl and tie off the thread with 2 to 3 whip finish knots.
Step 8
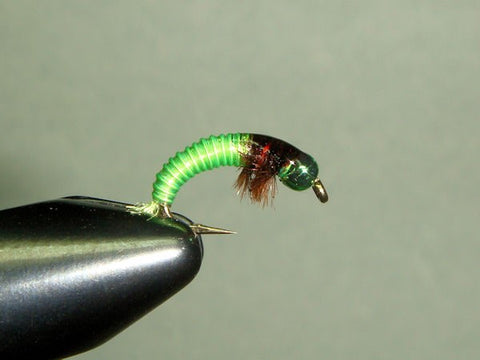
Carefully burn top of herl with lighter and coat the top of the thorax with a gloss cement or instant epoxy.
Step 9
Cut the Antron at the back of abdomen and paint the nymph eyes.